
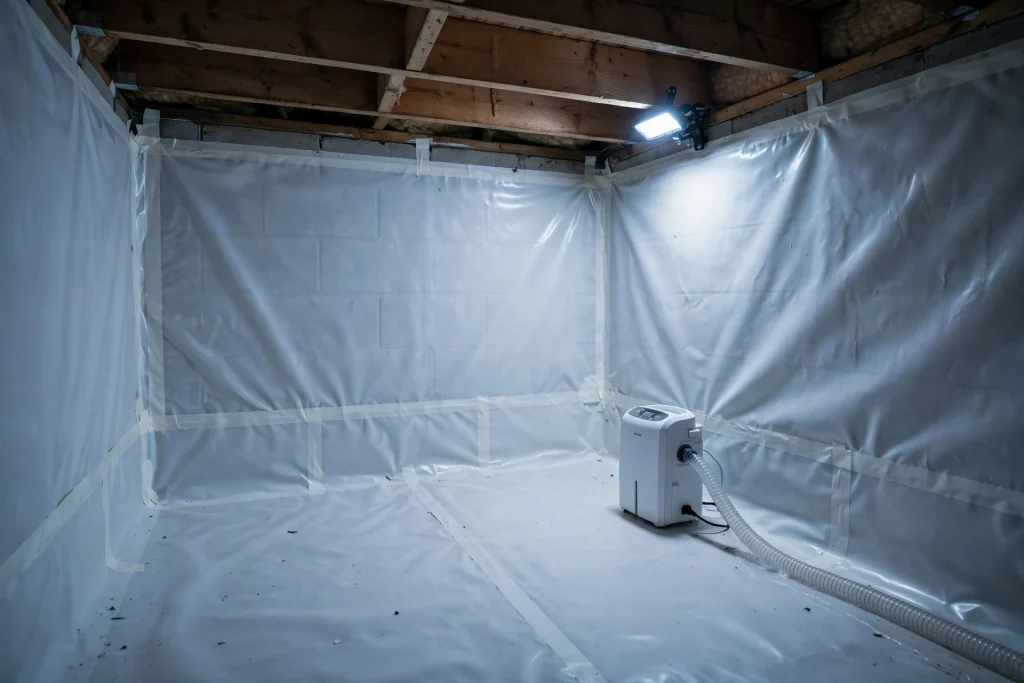
Crawl space encapsulation means sealing the space off from two things: the ground beneath it and the outside air around it. A heavy plastic liner covers the soil and runs up the walls, the vents get sealed, the rim joist gets insulated and air-sealed, and a dehumidifier keeps the conditioned space dry.
The reason it matters is a number most homeowners have never heard. Exposed soil in a crawl space can release 10 to 20 gallons of water vapour into a house every day, depending on size and soil conditions. That vapour does not stay under the floor. It rises through the building, and a substantial fraction of the air you breathe upstairs came from down there.
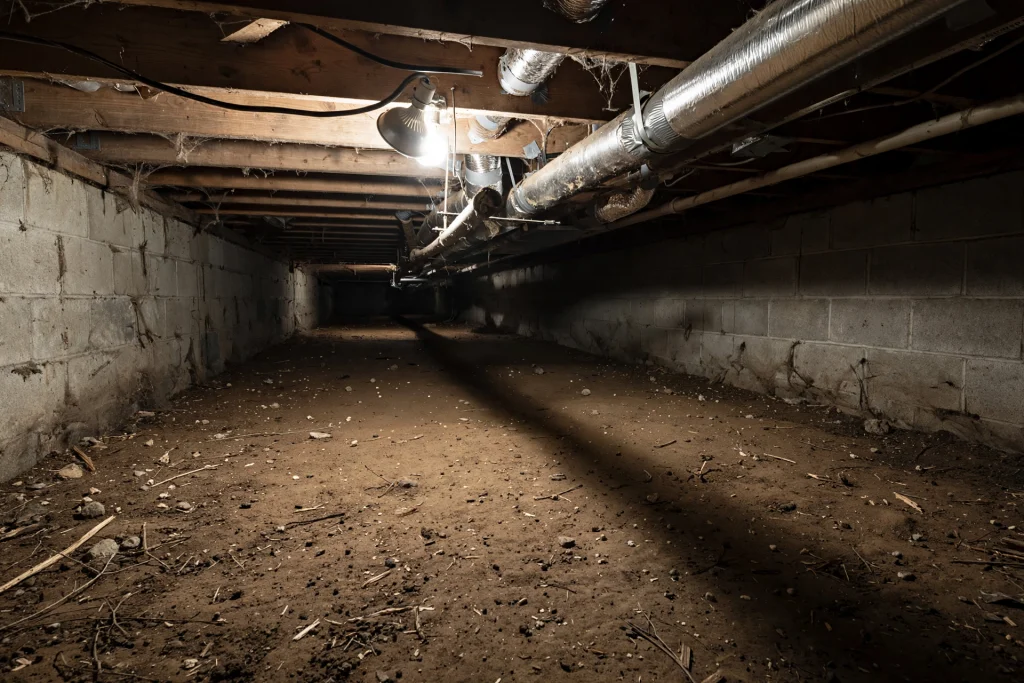
The stack effect
This is the concept that makes crawl spaces matter to the whole house.
Warm air rises. As it exits through the upper levels and attic, it pulls replacement air in from the lowest point in the building. In a house with a crawl space, that means air is being drawn continuously from under your floor and up into your living space.
Building science research commonly puts the figure at roughly 30 to 50 percent of the air on your first floor originating in the crawl space. Whatever is down there — moisture, mold spores, soil gas, pest droppings — travels with it.
Which reframes the whole thing. A crawl space is not a separate outdoor area under your house. It is functionally part of your air supply.
What encapsulation includes
A complete job has six components. Partial jobs skip some of them, and which ones get skipped determines how well it works.
1. Ground liner
Heavy polyethylene sheeting, typically 10 to 20 mil, covering the entire soil floor. Seams overlapped 12 inches and taped. This is the core of the system and the single biggest improvement.
Thicker is not automatically better; the right thickness depends on how the space will be used.
2. Wall coverage
The liner runs up the foundation walls and is mechanically fastened and sealed, terminating about 3 inches below the sill plate. That gap is deliberate: it leaves the wood visible so termite activity can be inspected, which many jurisdictions require.
3. Sealed vents
Foundation vents are sealed with rigid foam blocks and sealant, or purpose-made covers. This is the step that contradicts decades of received wisdom, and the reasoning is covered here.
4. Air sealing and insulation
The rim joist, the perimeter band, and any penetrations get sealed and insulated. Insulation moves from between the floor joists to the foundation walls, typically 2 inches of rigid foam, which brings the crawl space inside the building’s thermal envelope.
5. Moisture control
A dedicated dehumidifier sized for the space, with a condensate drain to a sump or the exterior. Some designs instead supply conditioned air from the HVAC system.
6. Drainage, where needed
If groundwater enters, a perimeter drain and sump pump go in beneath the liner before it is installed. This is not optional where there is standing water, and the causes are worth diagnosing first.
Why do it
Humidity control throughout the house. Removing the largest moisture source in the building makes it far easier to hold 45 to 50 percent relative humidity everywhere.
Mold and wood rot prevention. Framing above roughly 20 percent moisture content supports decay fungi. Joists, subfloor, and sill plates in a damp crawl space sit there routinely.
Structural protection. Sill plate rot and joist decay are expensive, and they develop out of sight over years.
Pest reduction. Damp crawl spaces attract termites, carpenter ants, camel crickets, and rodents. Dry sealed ones are far less hospitable.
Energy savings. Bringing the crawl space inside the thermal envelope typically cuts heating and cooling costs by 10 to 20 percent, though claims vary and depend heavily on your climate and existing insulation.
Comfort. Warmer floors in winter, less clammy air in summer.
Air quality. Less musty odour, fewer spores, less soil gas moving upward.
Storage. A sealed, dry crawl space is usable space.
The process
1. Clear it out. Remove debris, old insulation, and any standing water. Wet fiberglass batts between joists are common and they come out.
2. Treat what is already there. Any existing mold on framing is remediated before sealing, and rotted wood is repaired or replaced. Sealing over an existing problem hides it rather than fixing it.
3. Grade the floor and install drainage if water enters. Perimeter drain to a sump, installed before the liner.
4. Lay the liner. Overlap seams 12 inches, tape them, run it up the walls, fasten mechanically, seal the top edge, and seal around every pier and penetration.
5. Seal the vents and air-seal the perimeter.
6. Insulate the walls with rigid foam, and the rim joist.
7. Install the dehumidifier with a drain, or a conditioned air supply.
8. Install a monitor. A humidity sensor you can read without crawling in is worth having.
Typical duration is two to five days for an average residential crawl space.
Cost
Total commonly $3,000 to $15,000, with most residential jobs landing between $5,000 and $10,000.
| Component | Typical range |
|---|---|
| Cleanout and debris removal | $500 to $2,000 |
| 10 to 20 mil liner, installed | $3 to $7 per sq ft |
| Vent sealing | $30 to $100 per vent |
| Rim joist air sealing and insulation | $2 to $5 per linear ft |
| Wall insulation, rigid foam | $2 to $5 per sq ft |
| Dehumidifier, installed | $1,200 to $2,500 |
| Drainage and sump | $1,500 to $5,000 |
| Mold remediation, if needed | $500 to $4,000 |
| Structural repairs, if needed | $1,000 to $10,000+ |
What drives the number: square footage, headroom and access, whether drainage is required, whether there is existing mold or rot, and liner thickness.
Getting quotes: three, and ask each to specify liner thickness in mils, whether walls are covered, whether the rim joist is sealed, whether a dehumidifier is included, and whether drainage is in scope. Those five items are where quotes diverge, and a cheap quote usually omits several.
What it will not fix
Active water entry. A liner over standing water is a swimming pool cover. Drainage goes in first.
Structural damage. Rotted joists and sill plates need repair before sealing.
Existing mold. Sealing over growth hides it.
Surface water problems. Downspouts emptying at the foundation and ground sloping toward the house keep supplying water regardless. These cost a few hundred dollars and should be done first.
Plumbing leaks. Fix them before you cover the floor.
Safety considerations
Two matter enough to state plainly.
Combustion appliances. If a gas furnace or water heater with an atmospheric draft vent sits in the crawl space, sealing the space removes its combustion air supply. That is a carbon monoxide risk, not a theoretical one. The appliance must be converted to a sealed-combustion or direct-vent unit, or a dedicated combustion air supply must be provided. Any competent contractor will raise this; if yours does not, that tells you something.
Radon. Sealing changes how soil gas moves. In radon-prone areas, test before and after. A sealed crawl space can be integrated with a sub-membrane depressurisation system relatively easily, which is often cheaper to include during encapsulation than to retrofit.
Maintenance
Every 6 months: check the dehumidifier is running, empty or check the drain, clean the filter.
Annually: inspect the liner for tears and lifted seams, particularly where anyone has crawled through. Check the sill plate for pest activity through the inspection gap. Confirm the sump works if you have one.
Monitor humidity remotely with a wireless sensor, so you notice a dehumidifier failure without crawling in.
A well-installed liner lasts 20 years or more. Dehumidifiers are the consumable, typically 8 to 12 years.
Frequently asked questions
Is crawl space encapsulation worth it? In humid climates with a dirt-floor crawl space, generally yes. The moisture reduction alone changes air quality, wood moisture content, and pest pressure throughout the house. In arid climates the case is weaker.
Can I do it myself? A basic liner installation is achievable if you have headroom, patience, and tolerance for confined space work. Full encapsulation with wall insulation, air sealing, and a dehumidifier is a bigger job, and anything involving combustion appliances or drainage should be professional.
Does it increase home value? It is generally viewed positively at sale, particularly with documentation and a transferable warranty. Buyers’ inspectors flag damp crawl spaces routinely, so a sealed one removes a negotiating point.
Will it stop water coming in? No. It manages vapour. Liquid water needs drainage, installed before the liner.
Do I need a dehumidifier afterward? Almost always. Sealing removes the largest source, and some vapour still diffuses through the walls and liner. A dehumidifier holds the space at target.
How long does it last? The liner 20 years or more. The dehumidifier 8 to 12. Tape and seams may need occasional attention if anyone works in the space.
Should I insulate the floor joists or the walls? Walls, once encapsulated. Insulating the joists keeps the crawl space outside the thermal envelope, which is the vented approach. Doing both is redundant and can trap moisture in the floor assembly.
Will it help with radon? It changes soil gas movement and can reduce entry, but it is not a radon system by itself. Test before and after, and integrate a sub-membrane depressurisation system if levels warrant it.
The bottom line
Encapsulation seals your crawl space from soil moisture and outside air, and because of the stack effect it is really a whole-house air quality project rather than a repair to a space nobody visits.
The order matters more than the product. Fix the water first — downspouts, grading, drainage — remediate any mold, repair any rot, and only then lay the liner. And if there is a combustion appliance down there, that conversation happens before anything gets sealed.