
Sometimes, in a narrow set of conditions, and not for the problem most people buy it for.
Drylok is a masonry waterproofing paint made by UGL, and it is the product most homeowners reach for first when a basement wall gets damp. It is inexpensive, widely available, and the packaging speaks confidently about stopping water.
The reviews split almost perfectly in half — half report a dry wall years later, half report it peeling off in sheets within a season. Both groups are telling the truth. They were solving different problems.
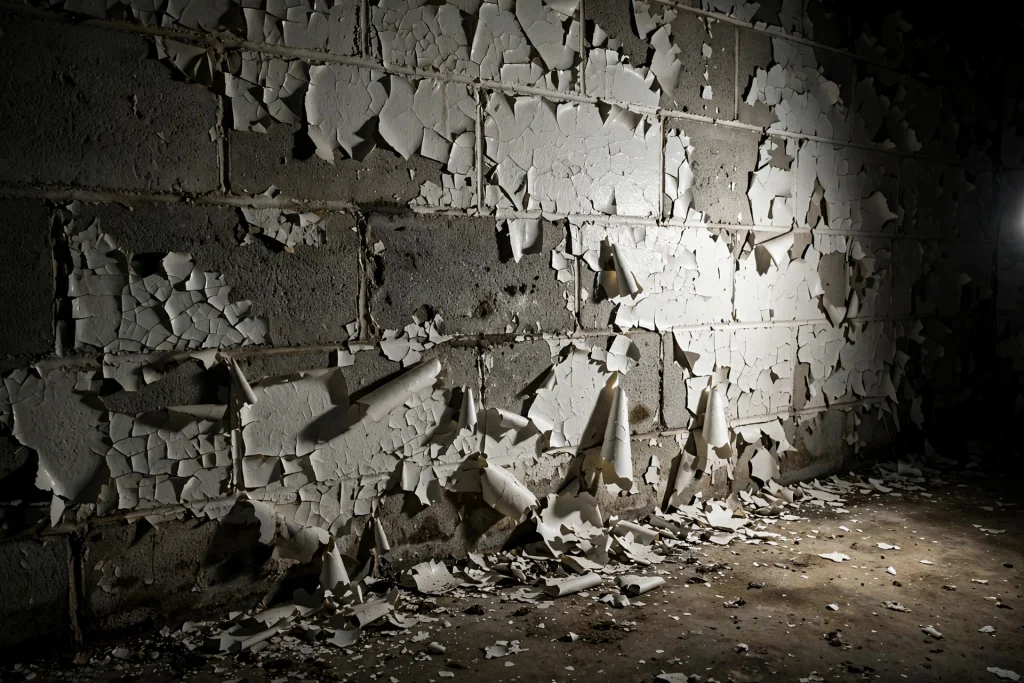
What it is and how it works
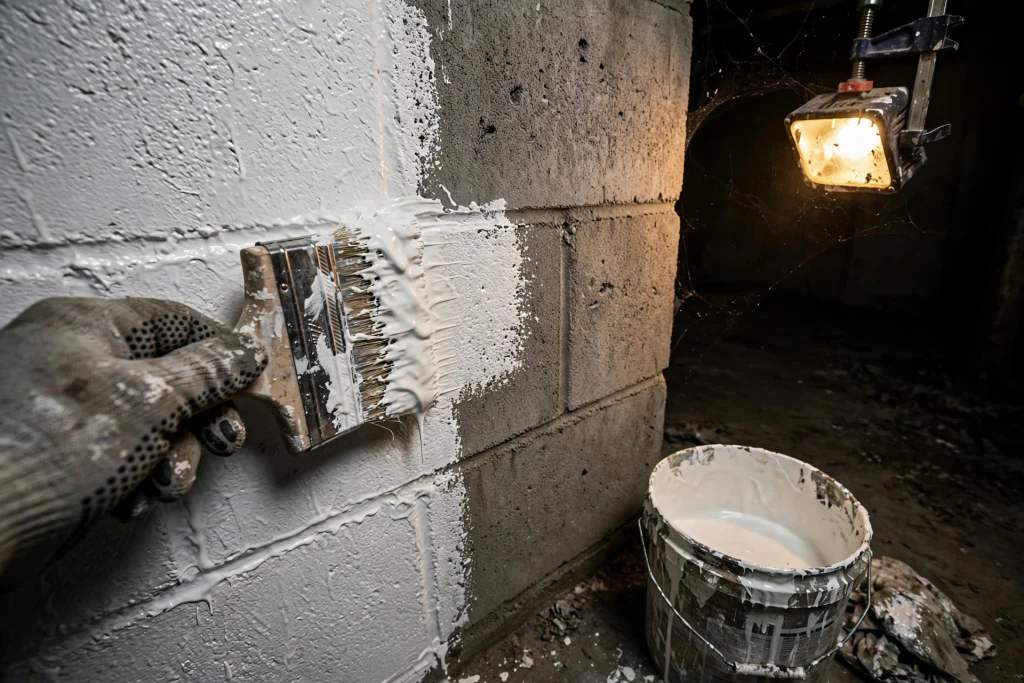
Drylok is a thick, latex or oil-based coating containing portland cement and fillers. Applied to bare masonry with a stiff brush, it is worked into the pores rather than laid over them like ordinary paint.
As it cures, the material bonds within the surface pores and forms a barrier that resists water passage. UGL rates the standard product to withstand hydrostatic pressure up to 10 psi, which the company describes as equivalent to a head of about 22 feet of water, and the Extreme product to 15 psi.
The manufacturer’s warranty is meaningful on its face — 10 or 15 years depending on product — but it is conditional on correct application, and the conditions are stricter than most homeowners realise.
Where it genuinely works
Mild dampness with no pressure behind it. A wall that feels slightly cool and damp from vapour diffusion, with no active seepage, no efflorescence returning, and no visible water. This is the product’s actual design case, and in this situation it performs.
Reducing vapour transmission. Concrete moves water vapour continuously even when perfectly dry to the touch. A coating reduces that, which lowers room humidity somewhat.
Appearance. It covers stains, brightens an unfinished basement, and looks tidy.
Above-grade masonry. Foundation walls above soil level, garage walls, retaining walls on the dry face. Genuinely useful here.
Sealing before painting. As a primer coat on masonry that is going to be finished anyway.
Interior walls that are dry but porous, where the goal is a cleanable surface rather than water resistance.
Where it fails
Against hydrostatic pressure
This is the central issue, and it is physics rather than product quality.
The coating is applied to the negative side of the wall — the dry side. Water pressure from the soil pushes toward the interior, which means it pushes the coating away from the concrete. It is being held on by nothing but its bond to the outer fraction of an inch of masonry.
An exterior membrane is on the positive side, so water pressure presses it into the wall. Same water, opposite outcome. The full explanation of positive vs negative side is here.
The 10 psi rating is a laboratory figure obtained under controlled conditions on properly prepared substrate. Real basement walls have surface contamination, previous coatings, dust in the pores, and localised weak spots. Failure begins at the weakest point, and once water gets behind the film, it spreads.
On previously painted walls
Drylok requires bare, clean masonry. Applied over existing paint it bonds to the paint, not the wall, and the whole assembly comes off together. This is one of the most common causes of dramatic failure, and it also voids the warranty.
Over efflorescence
Salt deposits prevent adhesion. They must be removed dry with a wire brush before coating. Coating over them guarantees peeling.
On an actively leaking wall
If water is entering through a crack or at the cove joint, a coating does not stop it. It relocates it. Water under pressure follows the path of least resistance and finds the next weakest point.
It hides the evidence
This is the underrated cost. Once a wall is coated white, you can no longer monitor crack movement, you cannot see whether efflorescence is returning, and you have lost the diagnostic information that tells you whether your drainage improvements worked.
On damp walls
The product requires a dry surface for application. Applying it to a wall that is currently damp produces a poor bond regardless of everything else.
Why the reviews split
Same product, two populations.
The satisfied group had mild vapour dampness, bare clean masonry, no active seepage, and adequate exterior drainage. They applied two coats with a brush, worked it into the pores, and the wall stayed dry. The product did exactly what it is designed to do.
The dissatisfied group had actual water intrusion driven by hydrostatic pressure or surface water reaching the foundation. No coating on the inside face was ever going to hold that back. Within a season it blistered, and often took a layer of concrete with it when it came off.
The product is not fraudulent. It is frequently bought for the wrong problem.
Application, if you are going to use it
The manufacturer’s requirements are specific and skipping them is the usual cause of failure.
Bare masonry only. Remove all previous paint and coatings by wire brushing, grinding, or media blasting.
Remove efflorescence dry with a stiff wire brush. Do not wet it, which redissolves the salts and drives them back into the wall.
Clean thoroughly and let the wall dry completely.
Patch cracks and holes first with hydraulic cement. Note that this is a surface patch and will not hold on a moving crack — for anything active, injection is the correct repair.
Use a stiff bristle brush, not a roller, for the first coat. The point is working material into the pores.
Two coats minimum, and the warranty depends on it. Pinholes in a single coat are entry points.
Respect temperature and cure times on the label.
Ventilate. Oil-based versions have high VOC content.
Coverage is roughly 75 to 100 square feet per gallon on masonry, materially less than ordinary paint, so budget accordingly.
Alternatives
Fix the drainage first. This is not a product and it is the highest-value option. Extend the downspouts six to ten feet, clean the gutters, and correct the grading. A few hundred dollars, and it resolves a large share of what people buy sealer for.
Crystalline waterproofing. Chemicals that react with moisture and unhydrated cement to grow insoluble crystals inside the pore network rather than as a surface film. Because the seal forms within the concrete, it is not vulnerable to peeling under pressure. It is the most technically defensible negative-side product, and it still will not overcome serious hydrostatic pressure. Roughly $1 to $3 per square foot.
Crack injection. For a discrete leaking crack, polyurethane injection fills it through the full wall thickness and often extrudes into the soil, forming a positive-side seal. $400 to $900 per crack professionally.
Interior perimeter drainage. For genuine hydrostatic pressure, drain tile routed to a sump relieves the pressure rather than resisting it. $8,000 to $20,000.
Exterior membrane. The positive-side answer. $15,000 to $40,000.
A dehumidifier. If the actual complaint is a damp, musty feel rather than water, holding 45 to 50 percent humidity may solve it for $250.
The test to run first
Before buying anything, spend nothing and settle the question.
Tape a 12-inch square of aluminium foil tightly to the wall, sealing all four edges. Wait 48 hours.
Moisture on the room-facing side means condensation. A dehumidifier is your answer, and a coating is optional cosmetics.
Moisture on the wall-facing side means water is coming through the masonry. Do not use a negative-side coating. You have a drainage problem. Full diagnostic here.
That one test, over a weekend, separates the people who will be happy with Drylok from the people who will be scraping it off next year.
Frequently asked questions
Does Drylok stop water? Under mild conditions with no hydrostatic pressure, largely yes. Against real water pressure from the soil side, no, because it is on the wrong side of the wall for that.
Why is my Drylok peeling? Almost always one of: applied over existing paint, applied over efflorescence, applied to a damp wall, applied in a single coat, or applied to a wall with genuine hydrostatic pressure behind it.
Can I put it over old paint? No. It requires bare masonry, and applying it over paint is a common cause of dramatic failure and voids the warranty.
Is it worth it for a slightly damp basement? If the foil test shows condensation rather than seepage, and you want a brighter, cleanable surface, it is a reasonable $50 to $150 purchase. Just do not expect it to solve a water problem it was never designed for.
Drylok or crystalline waterproofing? Crystalline has the better mechanism, since the seal forms inside the pores rather than as a surface film that can peel. It costs more. Neither overcomes serious hydrostatic pressure.
Will it work on concrete block? Block is more porous and has mortar joints, so it takes more material and more care. It also holds water inside the hollow cores, which increases the chance of pressure behind the coating.
Does it affect resale? A freshly coated basement wall sometimes reads to inspectors and buyers as an attempt to conceal a water history, particularly if it is peeling. Documented drainage work is a better story than a coat of paint.
How do I remove it? Wire brushing, grinding, or media blasting, and it is genuinely unpleasant work. If it needs to come off for a professional repair, expect to pay for the preparation.
The bottom line
Drylok is a competent product for a narrow job: mild vapour dampness on bare, clean masonry with no pressure behind it. In that situation it works and it is inexpensive.
It is not basement waterproofing in the sense most buyers mean, because it sits on the low-pressure side of the wall and cannot resist a force pushing it off. When it fails, it fails visibly, it takes concrete with it, and it makes the next repair more expensive.
Tape foil to the wall for two days first. That test costs nothing and it tells you whether you are buying a coating or postponing a drainage conversation.