
Plenty of homeowners cannot excavate. A property line runs three feet from the wall. An attached garage blocks one side. A mature oak and twenty years of landscaping sit exactly where the digger would need to be. Or the exterior quote came back at $28,000 and that is simply not happening.
So the question is fair and common: how much can actually be achieved without going outside?
More than the exterior contractors will tell you, and less than the interior ones will.
The honest answer
You can keep the basement dry from the inside. You cannot keep the wall dry from the inside.
Interior work manages water after it has reached the foundation. Exterior work stops it reaching the foundation at all.
For most homeowners whose goal is a dry, usable, finishable basement, interior-only work achieves that. What it does not do is protect the masonry itself from saturation, which matters if the wall is deteriorating stone, crumbling mortar, or spalling block.
And the reason coatings do not work is positive side versus negative side: anything applied to the interior face is being pushed off the wall by the same pressure it is trying to resist.
So the effective interior strategy is not to block water. It is to drain it.
The full menu of interior-only options
1. Fix the outside without digging — do this first
Not technically interior, but it requires no excavation and it is the highest-value work available.
Extend downspouts six to ten feet. One inch of rain on an average roof sends hundreds of gallons to each downspout.
Correct the grading — six inches of fall in the first ten feet.
Total cost typically $200 to $2,000, and a genuinely large share of basement water problems end here. Any contractor who quotes a system before checking these is skipping steps.
2. Interior perimeter drainage — the core solution
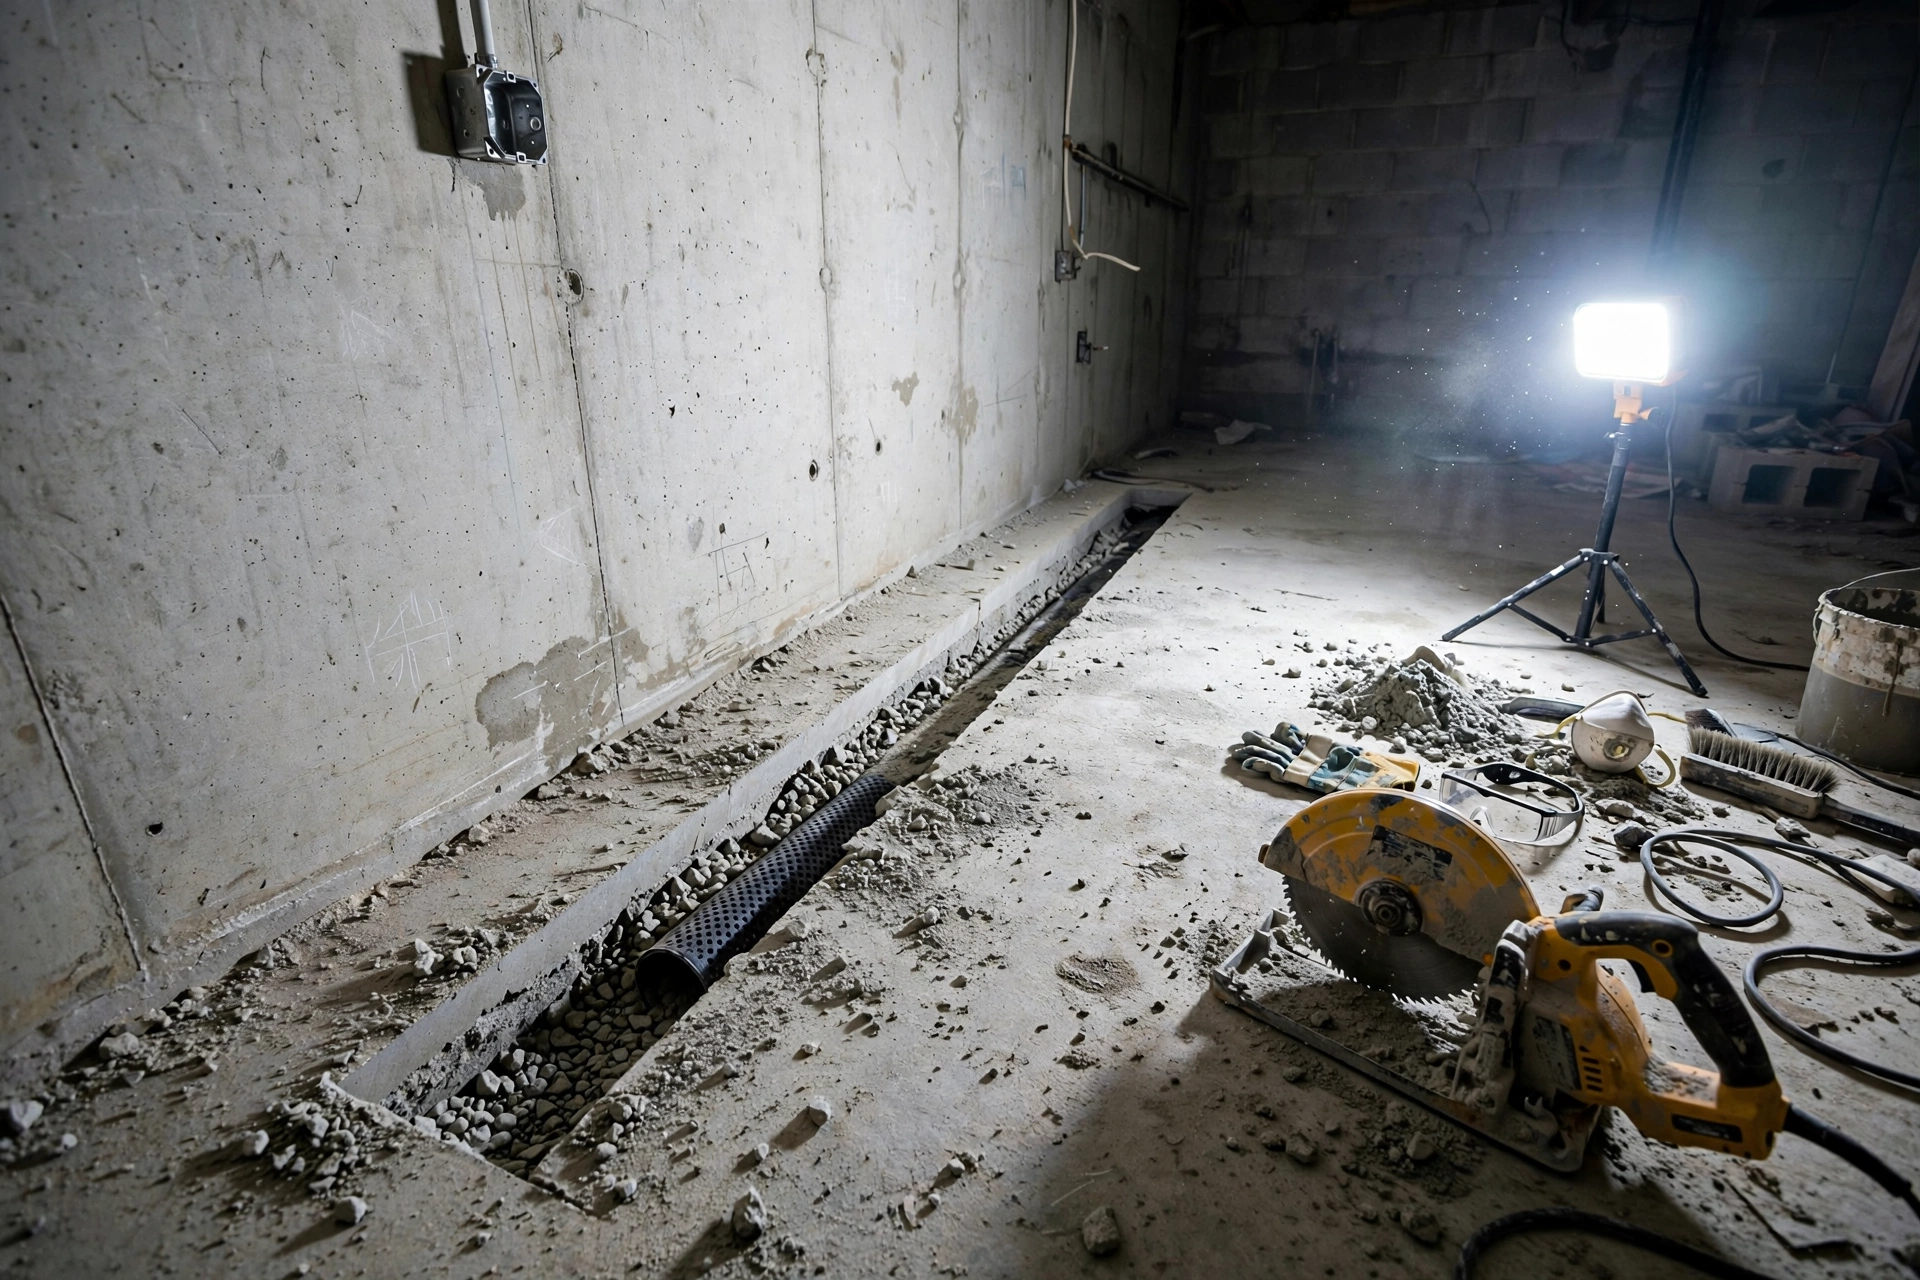
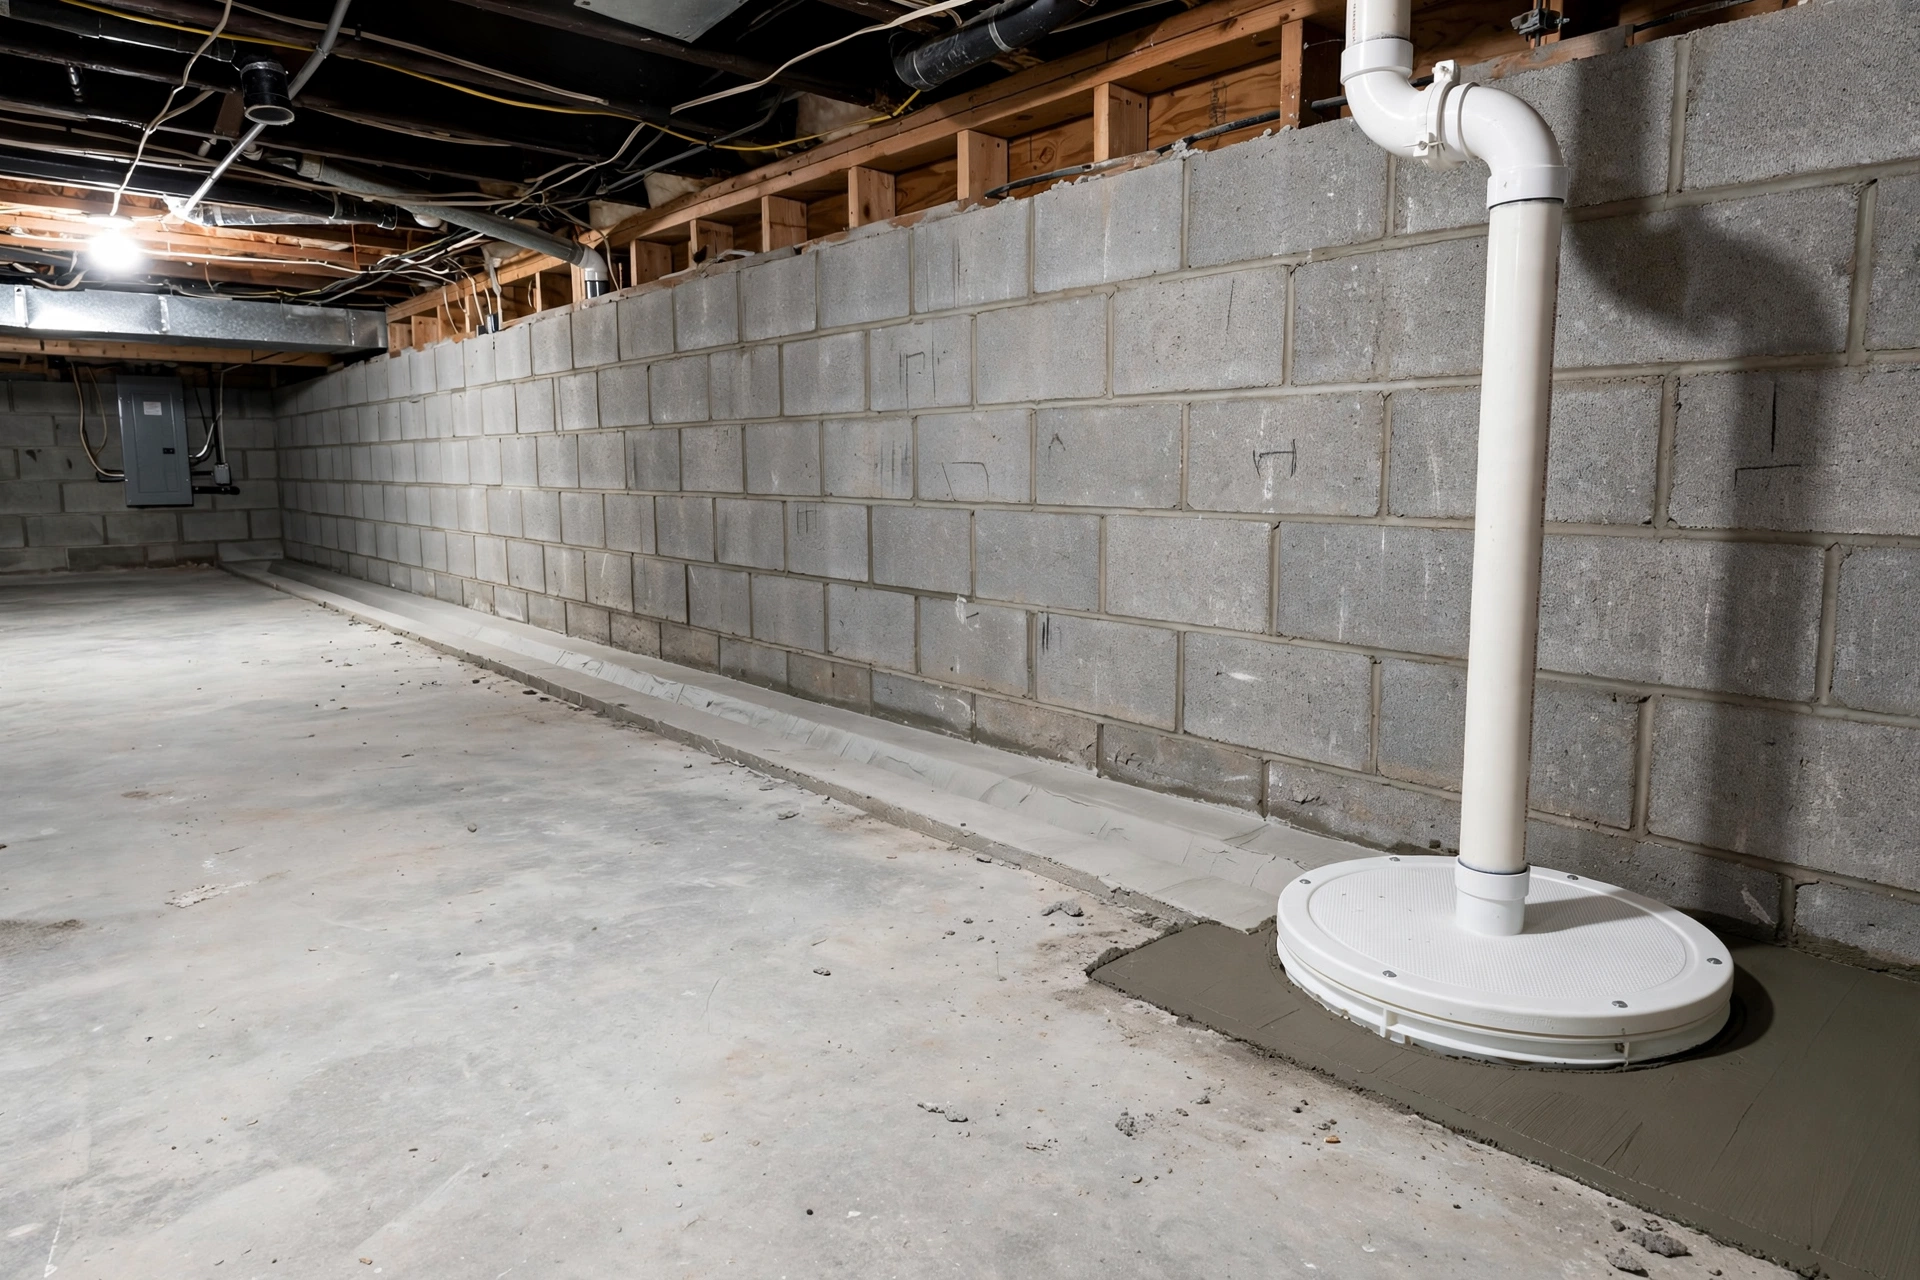
A channel cut through the slab along the footing, perforated pipe bedded in clean stone, weep holes drilled into hollow block cores so they drain, a vapour barrier directing wall seepage down into the drain, new concrete over the top, and everything routed to a sump pit.
This is what “interior waterproofing” means when done properly. It does not resist pressure; it relieves it. Water reaching the footing enters the pipe instead of accumulating.
Cost: $60 to $150 per linear foot, or $8,000 to $20,000 for a full perimeter. Partial systems treating only the affected walls cost proportionally less.
Duration: two to five days, no landscaping damage, and most reputable installers offer a transferable lifetime warranty.
3. A sump pump system
The discharge mechanism for everything above. A pit, a pump, a check valve, a discharge line running well away from the house, and a battery backup, because the storm that floods your basement is the one that cuts the power.
Cost: $1,200 to $3,000 for a new pit and pump, $600 to $1,500 for backup.
This is the one genuine dependency of interior systems: no power, no pumping.
4. Crack injection — the one that reaches the outside
For a discrete leaking vertical crack rather than general seepage, polyurethane injection fills the crack through the full wall thickness and typically extrudes slightly into the soil behind, forming a seal on the positive side.
It is the closest thing to exterior waterproofing achievable from indoors, and for a single crack it makes a drainage system unnecessary.
Cost: $400 to $900 per crack professionally, $60 to $150 for a DIY kit. Works in poured concrete; not applicable to hollow block.
5. Crystalline waterproofing
Chemicals that react with moisture and unhydrated cement to grow insoluble crystals inside the pore network. Because the seal forms within the concrete rather than as a surface film, it is not vulnerable to peeling.
The most technically sound negative-side product. It still will not overcome serious hydrostatic pressure or a structural crack.
Cost: $1 to $3 per square foot.
6. Vapour barrier wall panels
Dimpled plastic or rigid panels fixed to the wall that catch seepage behind them and channel it down into the perimeter drain. Not waterproofing, but a sensible component if you intend to finish the space.
7. Cove joint drainage
Where the wall meets the floor is a cold joint and it is never watertight. Specialised channel systems capture water at that seam and route it into the drain. Part of a properly designed interior system.
8. Dehumidification
Once liquid water is handled, holding 45 to 50 percent humidity deals with the vapour that continues to diffuse through concrete regardless. Most basements need this permanently.
9. What to skip
Masonry sealer paint over an active leak. It peels under pressure and hides the evidence you need for monitoring.
Surface caulk on cracks. It bonds to the outer fraction of an inch and comes off from behind.
Hydraulic cement as a permanent crack repair. Excellent for stopping an active gushing leak in an emergency, and rigid, so it cracks alongside the patch on any moving crack. Full comparison here.
When interior-only is genuinely enough
- The wall is sound poured concrete or block in reasonable condition
- Water enters at the cove joint or up through floor cracks, which is under-slab water that exterior work does not address anyway
- You have a viable sump discharge point
- Your goal is a dry, usable, finishable basement
- Access outside is blocked, or landscaping has real value
- Budget matters
That describes the majority of homes.
When you genuinely need to go outside
- The wall material itself is deteriorating — stone, crumbling mortar, spalling block. Only keeping water off the masonry stops that.
- You are already excavating for a sewer line, an egress window, or foundation repair. Marginal cost is far lower with the hole already open.
- There is no viable discharge point for a sump.
- The footing drain has collapsed and the wall shows years of saturation damage.
- You want the wall assembly genuinely dry before finishing to a high standard.
And separately: neither approach fixes structure. A bowing wall or horizontal crack needs reinforcement. Drainage removes the force that caused it; it does not restore lost strength.
A sensible sequence
- Diagnose. Foil test the walls, note the timing of water relative to rain, find the entry point. Full sequence here.
- Fix the surface water. Downspouts, gutters, grading, window wells. $200 to $2,000.
- Wait a season, including a wet spring, and see what remains.
- Inject any individual leaking cracks. $400 to $900 each.
- Check whether the existing footing drain is just clogged. A camera inspection at $200 to $500 sometimes turns a $20,000 quote into a $900 jetting job.
- Install interior perimeter drainage if water still arrives at the footing. $8,000 to $20,000.
- Add a dehumidifier and hold 45 to 50 percent.
- Test the slab before installing any flooring.
Skipping to step 6 is how people spend five figures on a downspout problem.
Frequently asked questions
Is interior waterproofing a band-aid? Interior drainage is legitimate engineering and keeps a basement dry for decades. Interior sealing sold as a cure for an actively leaking wall is where the criticism is fair.
Can I finish a basement that was only waterproofed inside? Yes, once it has stayed dry through a full wet season including spring, and once the slab passes a moisture test. Millions of finished basements sit over interior systems.
Does interior work void anything or affect resale? No. A documented system with a transferable warranty is generally viewed positively, since it signals the problem was addressed. Undisclosed water history is what damages sales.
How long does it last? The drainage itself should function for decades. The pump is the consumable, replaced every 7 to 10 years. Expected service life by method.
Can I install interior drainage myself? Realistically no. It means cutting a slab adjacent to structural elements and controlling crystalline silica dust, and it usually requires a permit. Crack injection and the exterior drainage fixes are reasonable DIY.
What if I have no sump discharge point? That is the strongest argument for exterior work. Occasionally a long buried discharge line to a lower point on the property, a dry well, or a permitted storm connection solves it.
Will interior work stop efflorescence? No. Efflorescence means water is moving through the masonry, and interior drainage captures that water after it arrives rather than preventing it. Only exterior work keeps the wall itself dry.
Is it cheaper in the long run? Typically half the cost upfront with comparable dryness, plus ongoing pump replacement and electricity. Over thirty years the gap narrows somewhat but interior usually stays ahead.
The bottom line
Yes, you can waterproof a basement from the inside — provided you understand that “waterproof” means keeping the room dry, not keeping the wall dry.
The method that works is drainage, not coating. Cut a channel, lay pipe in stone, drain the block cores, route it to a sump, and relieve the pressure instead of resisting it. That keeps basements dry for decades and it costs roughly half what excavation does.
Go outside when the masonry itself is failing, when you are already digging, or when there is nowhere to pump to. Otherwise, start with the downspouts and the grading, and let the next wet spring tell you how much more you actually need.